Understanding Inverse Kinematics
Learn how robots calculate the joint angles needed to reach a target position using inverse kinematics.
Before a robot can pick up an object, weld a car, or place a package on a shelf, it first needs to answer a simple question: What angles should each joint move to?
That’s exactly what inverse kinematics (IK) solves. Instead of asking “Where will the robot end up if I move these joints?”, inverse kinematics asks the opposite:
“If I want the robot to reach this position, what joint angles do I need?”
This calculation is happening constantly inside robotic systems, allowing them to move accurately toward their targets.
Why should you care?
Imagine telling a robot arm to move its gripper to a point in space.
Giving it an (x, y) coordinate isn’t enough. The motors don’t understand positions - they only understand joint angles.
Inverse kinematics acts as the translator between the position you want and the angles each motor must rotate to. Without it, the robot has no idea how to reach its target.
Try it yourself
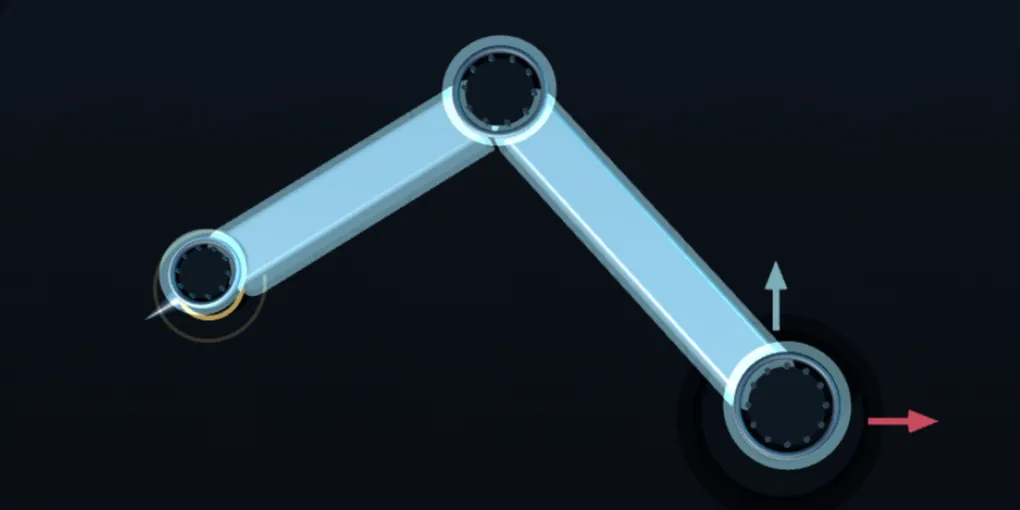
Click or drag the target to a new position on the demo below and watch inverse kinematics calculate the required joint angles in real time.
The core idea
For a simple two-link robot arm, the robot already knows three things:
- The target position
- The length of the first link
- The length of the second link
These three values form a triangle that can be used to solved using basic geometry.
The first step is finding the angle between the two links using the Law of Cosines. Once that angle is known, the remaining joint angle can be calculated using a little more trigonometry.
With both joint angles solved, the robot now knows exactly how each motor should rotate to place the end effector at the desired position.
How it works
A typical inverse kinematics calculation follows these steps:
1. Choose a target
The robot is first given a desired end-effector position, typically as an (x, y) coordinate.
const target = {
  x: 2.6,
  y: 0.55
};
This target represents where the robot should move, not how it should move there.
2. Build a triangle
The robot calculates the straight-line distance from its base to the target. Combined with the lengths of the two links, this naturally forms a triangle that can be solved using geometry.
const distance = Math.sqrt(x * x + y * y);3. Solve the angles
Using the Law of Cosines, the robot first calculates the elbow joint angle (theta2). It then uses trigonometry to determine the shoulder joint angle (theta1).
const cosTheta2 =
  (distance * distance - L1 * L1 - L2 * L2) /
  (2 * L1 * L2);

const theta2 = Math.acos(cosTheta2);

const theta1 =
  Math.atan2(y, x) -
  Math.atan2(
    L2 * Math.sin(theta2),
    L1 + L2 * Math.cos(theta2)
  );
These are the same calculations used in the interactive demo above. Every time the target moves, the joint angles are recalculated in real time.
4. Move the motors
Once the joint angles have been calculated, they are sent to the robot’s motors, which rotate each joint until the end effector reaches the target position.
robot.shoulder.rotation = theta1;
robot.elbow.rotation = theta2;
This entire process takes only a fraction of a second and repeats continuously as the target changes, allowing the robot to move smoothly and accurately.
Where is inverse kinematics used?
Although this example uses a simple 2-link arm, the exact same idea appears throughout robotics.
You’ll find inverse kinematics in:
- Industrial robot arms
- Humanoid robots
- Quadruped robots
- Surgical robots
- Collaborative robots (cobots)
- Computer animation and game character rigs
The mathematics becomes more complex as robots gain more joints, but the goal always remains the same: convert a desired position into the joint angles needed to get there.
Common misconceptions
The robot doesn’t “know” the answer
It has to calculate it every time the target changes.
There isn’t always one solution
Many robot arms can reach the same point using different joint configurations. Choosing the best one depends on the application.
Some targets can’t be reached
If the target lies outside the robot’s workspace, no valid solution exists. Inverse kinematics can only solve positions the robot is physically capable of reaching.
Key takeaways
- Inverse kinematics converts a desired position into joint angles.
- Robot motors move to angles, not coordinates.
- A simple two-link arm can solve IK using geometry and the Law of Cosines.
- More advanced robots use more sophisticated IK algorithms, but the underlying goal is the same.
- Inverse kinematics is one of the fundamental building blocks of modern robotics.
Learn more
If you’d like to explore inverse kinematics further, these are excellent next steps:
Official documentation
- ROS 2 MoveIt Documentation
- Orocos Kinematics and Dynamics Library (KDL)
- Pinocchio Robot Dynamics Library
Recommended resources
- Modern Robotics by Kevin Lynch & Frank Park
- Introduction to Robotics: Mechanics and Control by John J. Craig
- MIT OpenCourseWare – Robotics
Inverse kinematics is one of those concepts that seems complicated at first, but at its core it’s just geometry. Once you understand how a robot turns a target position into joint angles, you’ll have a much deeper appreciation for how robots move through the world.